Use Signature URL's To Redirect Marketing Traffic To New Landing Pages
If you are using an email signature, posting in forums or creating ads, you will want to use Signature URL's. Create links that you can reuse with different landing pages.
You will never need to change the ad or post once you have a new webinar created. Instead, just move the Permanent Link to a new landing page and all the traffic still arriving from the old ads and posts will be sent to the new webinar.
This is especially important if you are using Google Adwords or Facebook for your webinar marketing, as previously, every time you have a new landing page, you would need to change the final URL which resets your ad performance history and removes all social comments.
This problem is now solved!
This is an extremely powerful yet simple feature and must be part of every marketing plan.
Where to Use Signature URL's?
You can use permanent links when promoting your webinars in a variety of online (or even offline) environments:
- On your Social Media Profiles.
- In your email signature.
- In paid ads.
- On your website or blog.
- In forums and discussion boards.
- In any other type of promotional endeavor - be it online or offline.
How to Set it Up?
- Select your community from under Your Communities, in the top navigation menu.
- Go to Webinars.
- Select the webinar for which you want to set up a permanent link. The webinar needs to have been previously created (Here is how).
- Select Webinar actions then Edit webinar.

- Go to the Pages option from the sub-menu.
- Make sure your webinar is linked to a landing page. Here is how to link landing pages to your webinar.
As soon as you link your webinar, you will find a Direct link - This is the link that is strictly associated to this instance of the webinar and the landing page associated with it. If you want to change the landing page in the future or if you don't want the link to point to an old session, then this is not the link to use. You will want to click the Signature URL button on the right, to set up a permanent link.

Next, enter the name of your webinar into the URL box. Make sure not to use spaces, otherwise the URL will not work. Use dashes to separate your words. Click Save Changes when you are ready.

- Now your Permanent Link will be listed. This is the link that you will want to use when promoting your webinar from now on.

If you will want to change the landing page in the future, simply follow these steps:
- Link your new landing page,
- Remove the existing permanent link (click Permanent Link and cut the name from the URL and save your change).
- Follow steps 7, 8 and 9 to add it to your new landing page. On the Permanent Link window, simply paste the name you just cut into the URL box.
That's it! All of the traffic coming through your permanent link will now be directed to the new landing page.
Watch a video of the setup)
Add Your Permanent Link to Your Social Media Profiles
First of all, copy your Permanent Link. Now, simply insert it in all of your desired Social Media Profiles:
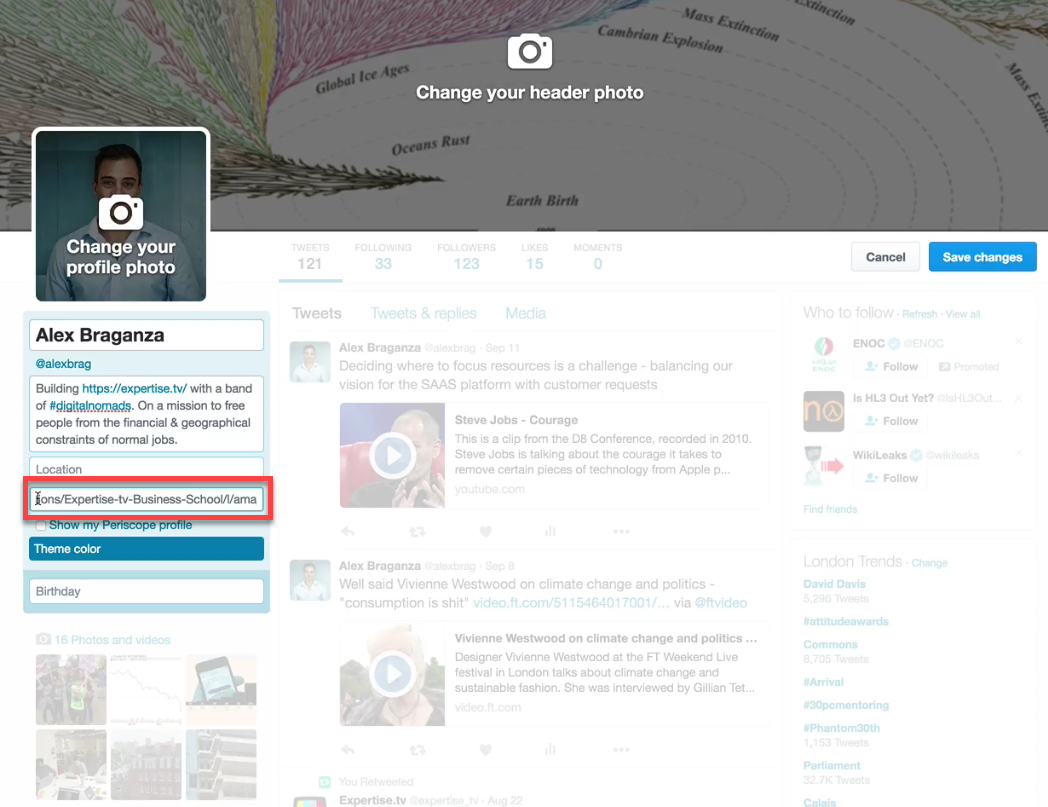
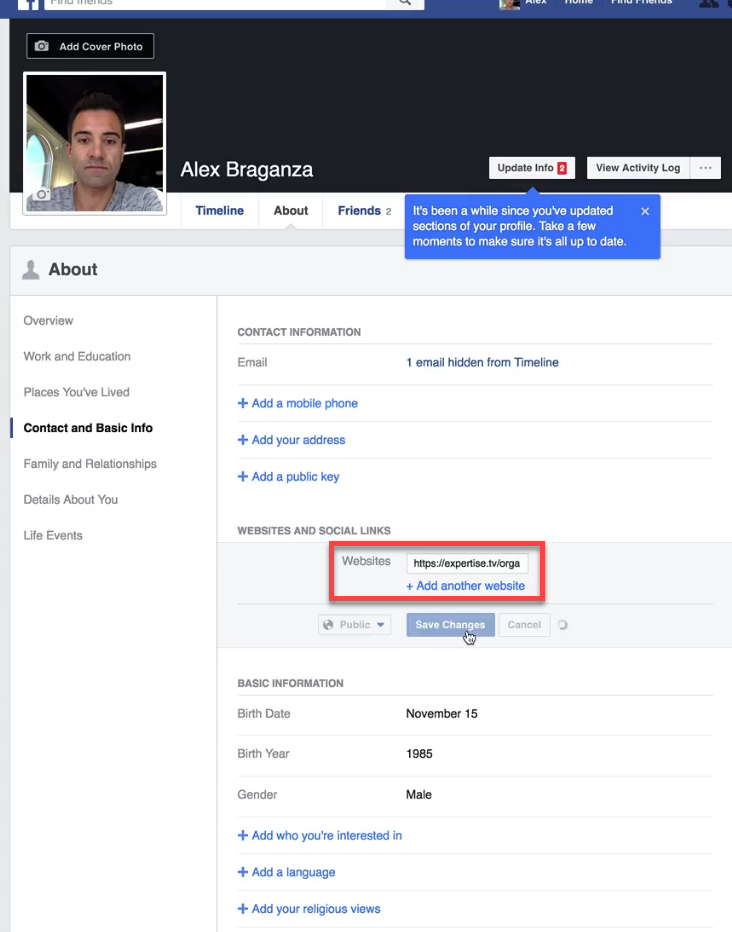
Twitter: Edit your Profile and add it into your Website field.  Facebook: Edit your Profile and add the link as your Website, under Contact and Basic Info.
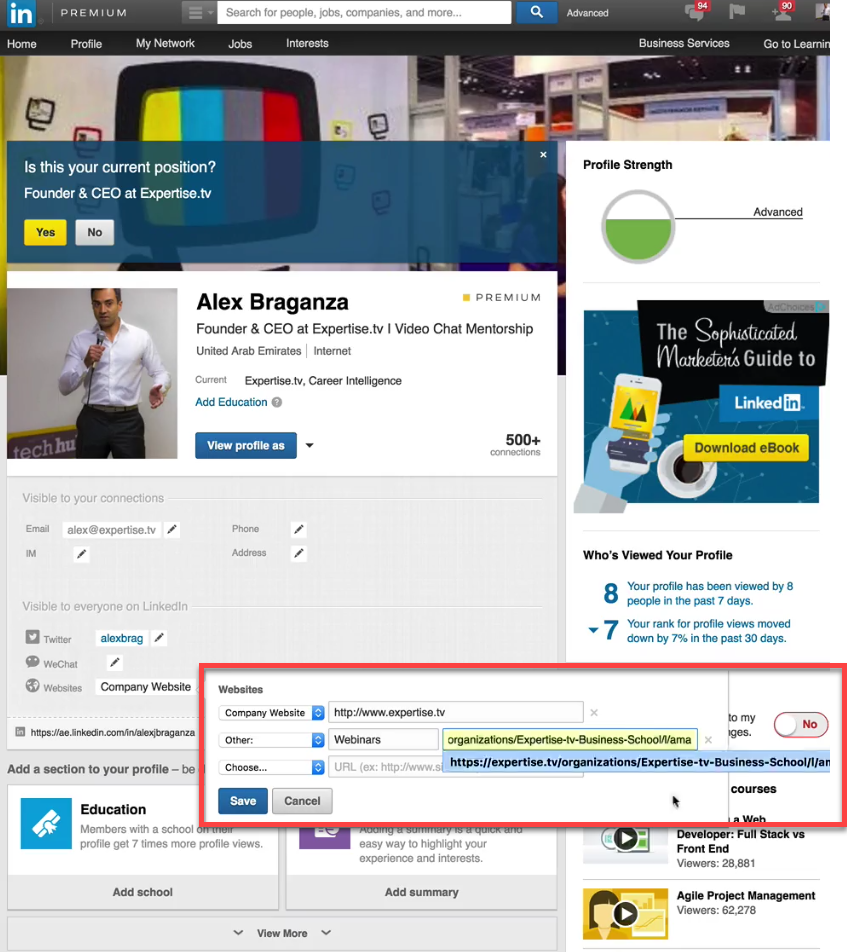
  LinkedIn: Edit your Profile and under Contact Info, paste your Permanent Link in the Website field. You will need to include it in a category - for this we recommend Other.
Need more help with setting up permanent links? Book a call with the Webinar Launch Team
